
Ever notice how we happily debate paint colors for months but only think about our home’s foundation when something goes terribly, expensively wrong? Yeah, we’ve been there too. It’s the classic out-of-sight, out-of-mind scenario, until a crack in the wall starts looking more like the Grand Canyon or a door refuses to close without a fight. Let’s have a real talk about what’s happening under our feet here in the East Bay, because ignoring it is a gamble we really can’t afford.
The Ground Beneath Our Feet Isn’t Just Dirt
We live in one of the most beautiful, geologically interesting places on the planet. IMO, that’s also a polite way of saying the ground here can be a bit… dramatic. From the expansive clay soils in Walnut Creek and Clayton that love to shrink and swell with the seasons, to the sandy fills in parts of Oakland and Berkeley, our soil has a mind of its own. This is where everything begins and ends for your foundation.
Why does soil matter so much? Think of it like building a bookcase. Put it on solid, level flooring and it’s fine. Put it on a soft, uneven rug and it’ll wobble, lean, and eventually the shelves will crack. Your house is that bookcase. Soil stabilization services aren’t just a fancy term; they’re the crucial first step in making sure the “rug” your house sits on isn’t going to shift the moment it gets wet or dry. Without proper understanding and preparation, you’re basically building on a mystery, and not the fun kind.
The Usual Suspects: Spotting Foundation Trouble Early
We don’t need to panic at every hairline crack, but we do need to know the red flags. Waiting until the problem is “obvious” usually means the cost has already multiplied.
Here are the big ones:
- Diagonal cracks snaking from the corners of doors or windows. These aren’t just cosmetic.
- Doors or windows that suddenly stick or won’t latch. Your house isn’t being haunted; it’s shifting.
- Sloping or uneven floors. That “character” in your old Berkeley craftsman might actually be a foundation crying for help.
- Gaps between walls, ceilings, or around baseboards.
- Cracked walls in your interior drywall or exterior stucco/brick, especially if they’re widening.
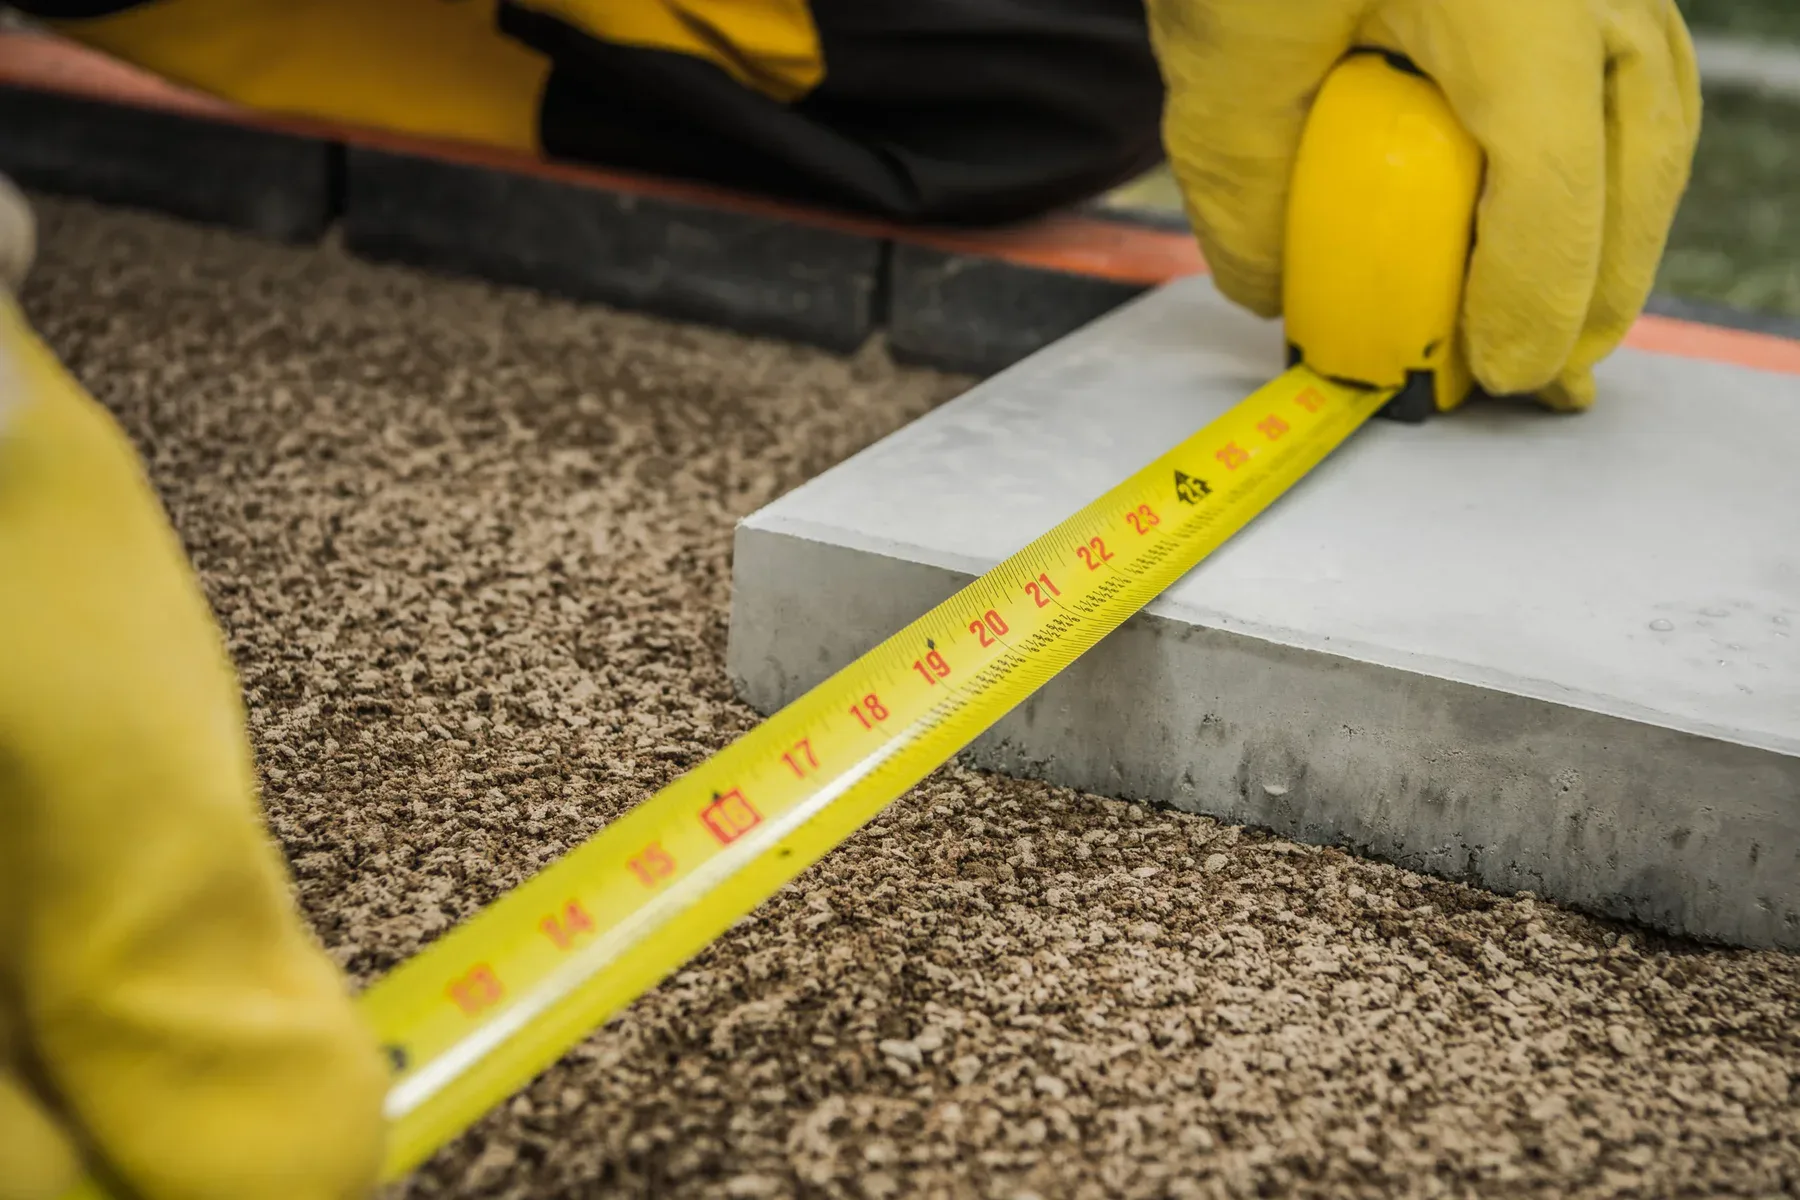
If you see these, the single best investment you can make is a professional foundation inspection. It’s like a doctor’s visit for your home—it tells you exactly what you’re dealing with so you can make a smart plan, not just a desperate, expensive one.
Your Foundation’s Playbook: Repair vs. Retrofit
So, the inspection reveals an issue. Now what? The world of foundation repair has a lot of players, and knowing who does what saves time, money, and sanity.
For the classics: Post and Pier & Stem Walls
Many of our gorgeous older homes sit on a post and pier foundation. It’s great for ventilation but can settle unevenly over decades. Crawl space repair and pier adjustment are common fixes here. Similarly, a concrete stem wall repair addresses the solid perimeter wall that many homes use. These are bread-and-butter fixes for a skilled foundation contractor.
When things get serious: Underpinning
This is the major league. Foundation underpinning services are used when the existing foundation isn’t deep or strong enough. We’re talking about installing new, deeper supports (like steel piers or concrete piles) to permanently stabilize the structure. It’s a significant project, but for a home with major settlement, it’s the only real long-term solution.
Living with the Earth: Seismic Retrofits
Here’s the East Bay special. We don’t just have soil to worry about; we have faults. A seismic retrofit isn’t about fixing something broken; it’s about preventing catastrophic failure. This includes bolting your house to its foundation and adding earthquake brace and bolt shear walls or bracing in your crawl space. It’s the ultimate in peace-of-mind upgrades. FYI, many homeowners in Oakland, Berkeley, and Concord are eligible for grant programs to help with the price of this critical work.
Breaking Down the Big Question: “How Much?”
Let’s be blunt: this isn’t cheap work. But viewing it as an investment in your single largest asset is the right mindset. The cost spectrum is huge because every house, every soil condition, and every problem is unique.
To give you a rough idea, here’s a basic comparison table:
| Service Type | Typical Scope | Good For… | General Cost Range (Varies Widely) |
|---|---|---|---|
| Foundation Inspection & Report | Professional assessment, moisture probing, level measurements, detailed plan. | Anyone buying a home or seeing warning signs. The essential first step. | $500 – $1,500 |
| Basic Repair & Stabilization | Crawl space repair, mudjacking, pier shimming, concrete stem wall repair. | Localized settlement, minor cracking, maintenance on older post and pier foundations. | $5,000 – $15,000 |
| Underpinning & Major Repair | Installing steel piers, helical piles, or concrete caissons for permanent stabilization. | Significant, ongoing settlement, major cracked walls, failing perimeter foundations. | $20,000 – $50,000+ |
| Full Seismic Retrofit | Earthquake brace and bolt, cripple wall bracing, whole-house bolting, possible foundation underpinning. | Homes built before 1980 lacking modern seismic ties. Non-optional for safety in our area. | $10,000 – $30,000+ |
The bottom line: Getting multiple detailed quotes is non-negotiable. And when you search for “foundation contractor near me,” look for depth of local experience. A team that knows Clayton clay from Walnut Creek fill is worth its weight in gold.
Why We Do Things Differently at Golden Bay Foundation Builders
We’ll put our cards on the table. We started Golden Bay Foundation Builders because we got tired of seeing homeowners get generic, scare-tactic sales pitches. This is your home. You deserve a clear conversation. When you call us, we don’t just see a foundation repair ticket; we see a house in a specific neighborhood with a specific history. Maybe it’s a floating foundation on a hillside in Berkeley that needs a hybrid solution, or a post and pier home in Oakland that needs a retrofit alongside its stabilization.
Our approach is to diagnose once, and diagnose correctly. That means we might tell you that you don’t need a full underpinning job when a targeted repair will do. Or, we might be the ones to insist that stabilization alone isn’t enough without a seismic upgrade for your family’s safety. It’s about giving you the whole picture, so you can make a decision that makes sense for your home and your budget for the long haul.
Your Top Foundation Questions, Answered
1. “Can’t I just patch the cracks and forget about it?”
We wish! Patching a foundation crack without addressing the movement causing it is like putting a band-aid on a broken arm. It might look better for a minute, but the break will keep causing damage underneath. The crack is a symptom; we need to treat the disease, which is almost always soil movement or inadequate support.
2. “Will foundation work destroy my landscaping and interior?”
A reputable contractor will make this their #2 concern, right after doing the job correctly. For crawl space repair or underpinning, access is key, but we use targeted excavation and mini-equipment to minimize impact. For interior work, we seal off areas and protect your floors. It’s never zero disruption—this is major surgery—but it shouldn’t look like a bomb went off.
3. “How do I choose the right contractor? It’s overwhelming.”
This is the most important step. Look for:
- Deep local expertise (ask for project examples in your city).
- Licensed, insured, and bonded (no exceptions).
- Detailed, written quotes that explain the why and the how, not just the price.
- Permanent warranties that transfer to future owners.
- Transparent communication. You should feel like a partner, not a target.
And hey, we’d be thrilled if you included Golden Bay Foundation Builders in that search. We pride ourselves on checking every one of those boxes and treating your home like it’s our own.
So, what’s the takeaway? Don’t wait for a small sign to become a massive, wallet-emptying problem. Get it checked. Understand your soil, know your options, and choose a partner who speaks your language—plain English, not contractor jargon. Our foundations are quite literally what keep us safe and sound here in the East Bay. Let’s give them the respect (and the occasional inspection) they deserve 🙂
Related Articles
Effective Solutions for Repairing Frost Heave Damage in Cold-Weather Regions
How To Prevent Frost Heave In Concrete Slabs
People Also Ask
Frost heave will not simply go away on its own. While the ice lenses that form in the soil will eventually thaw when temperatures rise, the damage they cause to your foundation is permanent. The soil shifts and lifts your structure, and when it thaws, the ground settles unevenly, leaving cracks and misalignment in your foundation. This cycle of freezing and thawing can worsen over time if the underlying drainage and soil conditions are not corrected. For a thorough explanation of the mechanics and long-term solutions, please refer to our internal article How Do You Fix Frost Heave?. At Golden Bay Foundation Builders, we recommend professional assessment to prevent recurring structural issues.
Frost heave occurs when moisture in the soil freezes, forming ice lenses that expand and push the ground upward. The depth of frost penetration needed for heave depends on soil type, moisture content, and temperature duration, but generally, a frost depth of at least 12 to 18 inches can trigger significant heave in susceptible soils like silt or clay. In colder climates, frost can penetrate several feet, causing substantial damage to foundations. For properties in Walnut Creek and Contra Costa County, where frost is less severe, even shallow freezing can be problematic if drainage is poor. For comprehensive guidance on mitigating these risks, refer to our internal article titled 'Effective Solutions for Repairing Frost Heave Damage in Cold-Weather Regions' at Effective Solutions for Repairing Frost Heave Damage in Cold-Weather Regions. Golden Bay Foundation Builders recommends proper site grading and insulation to prevent heave.
Yes, gravel can help mitigate frost heave, but it is not a standalone solution. Frost heave occurs when water in the soil freezes and expands, lifting foundations. Gravel, especially coarse, angular stone, improves drainage and reduces the amount of water retained near the foundation. However, for effective prevention, the gravel must be placed below the frost line and combined with proper site grading and drainage systems. For comprehensive guidance on this issue, including repair strategies, we recommend reading our internal article titled Effective Solutions for Repairing Frost Heave Damage in Cold-Weather Regions. At Golden Bay Foundation Builders, we always assess soil conditions and frost depth before recommending any gravel application to ensure long-term stability for your Walnut Creek property.
Mitigating frost heave requires proper site preparation and drainage. The most effective approach is to ensure the soil beneath foundations is not susceptible to freezing. This involves excavating to a depth below the frost line, which in Walnut Creek and Contra Costa County is typically shallow but still requires attention. Replacing expansive or silty soils with non-frost-susceptible granular materials like gravel or crushed stone is a key strategy. Proper drainage systems should also be installed to divert water away from the foundation, as moisture is a primary driver of frost heave. For comprehensive guidance on repairing existing damage, Golden Bay Foundation Builders recommends reviewing our internal article titled Effective Solutions for Repairing Frost Heave Damage in Cold-Weather Regions, which outlines proven techniques for restoring structural integrity after frost heave has occurred.
In cold-weather regions, preventing frost heave in fence posts requires proper installation techniques. The primary cause is water in the soil freezing and expanding, which pushes posts upward. To mitigate this, dig post holes below the frost line, typically 12 to 18 inches deep in areas like Walnut Creek and Contra Costa County. Use gravel at the bottom for drainage and consider concrete footings with a bell-shaped base to anchor the post. For existing damage, our internal article titled 'Effective Solutions for Repairing Frost Heave Damage in Cold-Weather Regions' provides detailed repair strategies. Golden Bay Foundation Builders recommends ensuring proper soil compaction and using moisture barriers around posts. Regular inspection before winter can also help identify early signs of shifting.
To prevent frost heave in fence posts in a DIY project, the key is to dig below the frost line, which in Walnut Creek CA and Contra Costa County is typically around 12 to 18 inches deep. Use a post hole digger to create a hole at least 12 inches in diameter, then add 6 inches of gravel at the bottom for drainage. Place the post and fill the hole with concrete, but ensure the concrete does not extend above the ground level to avoid water pooling. Alternatively, use a dry mix of concrete that absorbs moisture from the soil. For best results, consider consulting Golden Bay Foundation Builders for expert guidance on local soil conditions and frost depth specifics.
Frost heave occurs when moisture in the soil freezes, expands, and pushes fence posts upward, often causing misalignment or structural instability. To prevent this, set posts below the frost line, which in Walnut Creek and Contra Costa County is generally shallow but still requires careful depth consideration. Using gravel at the base of the post hole improves drainage, reducing water accumulation that leads to heaving. For existing damage, you may need to reset the post with a concrete collar designed to resist upward pressure. For comprehensive repair strategies, our internal article titled Effective Solutions for Repairing Frost Heave Damage in Cold-Weather Regions offers detailed guidance. Golden Bay Foundation Builders recommends inspecting your fence line annually to catch early signs of movement before they worsen.
For fence posts in Walnut Creek and Contra Costa County, a frost sleeve is not typically required. The local frost line is shallow, usually around 5 to 12 inches, due to the mild climate. However, using a concrete footing that extends below the frost line is still a best practice for stability. A frost sleeve, which is a plastic tube placed around the post before concrete is poured, can help protect the wood from ground moisture and prevent frost heave in colder microclimates. If you are installing a fence on a slope or in a low-lying area, Golden Bay Foundation Builders recommends consulting a local professional to determine if a frost sleeve or deeper footing is necessary for long-term durability.
The frost line depth in Walnut Creek, CA, and Contra Costa County is generally shallow due to the mild climate. Most local building codes, including those for areas like zip code 94596, specify a frost line depth of approximately 12 inches. This standard is based on regional soil and temperature data, ensuring foundations are placed below the frost penetration level to prevent heave. For a precise requirement tied to your specific property, it is essential to consult the local building department. Golden Bay Foundation Builders always recommends verifying the exact depth with a structural engineer, as variations can occur based on soil composition and microclimates within the county.

